

Bước 1: Tạo project Angular 2 tên ng-view-child bấm vào đây
Bước 2: Tạo component
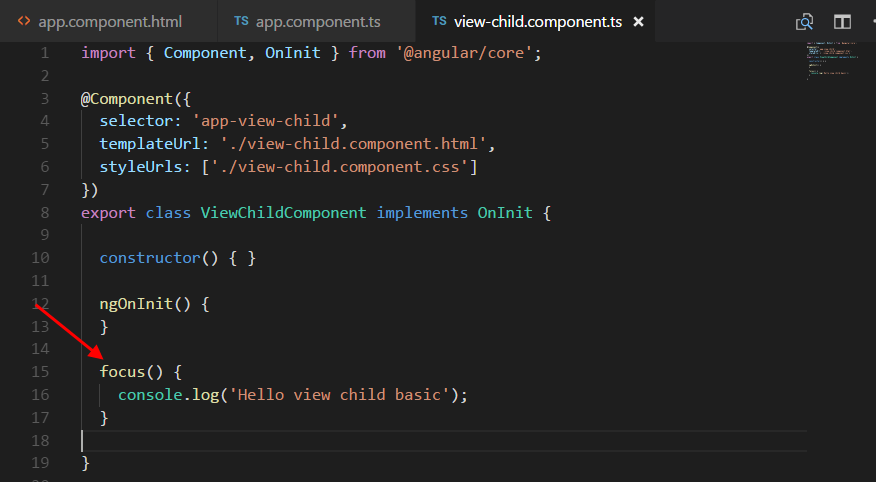
ViewChild: gọi phương thức focus()
SuperClass

 ViewChild ElementRef
Subclass

 ViewChild Directive

Subclass

Bước 2: Tạo component
ng generate component view-child
 |
| Tạo component thành công |
 |
| Cấu trức thư mục được tạo |
SuperClass
<app-view-child #basic></app-view-child>
import { ViewChild } from '@angular/core';
@ViewChild('basic') basic;
hoặc
import { ViewChildComponent } from './view-child/view-child.component';
@ViewChild( ViewChildComponent ) basic: ViewChildComponent;
this.basic.focus();
SubClassfocus() {
console.log('Hello view child basic');
}
 |
| khai báo #basic |
 |
| Import để sử dụng ViewChild |
ng serve --open
or
ng serve --port=8080 --open

Subclass
<input type="text" #focus/>
<input type="checkbox" #click/>
import { ViewChild, ElementRef } from '@angular/core';
@ViewChild('focus') focusView: ElementRef;
@ViewChild('click') clickView: ElementRef;
focus() {
    console.log('Hello view child basic');
    this.focusView.nativeElement.focus(); //hoặc value ...vv
    this.clickView.nativeElement.click();
}

 |
| Import ViewChild và ElementRef để thực hiện |
ng serve --open
or
ng serve --port=8080 --open

ng generate directive giai-ma

 |
| Khai báo directive trong app.module |
<span appGiaiMa> My text !</span>
@ViewChild(GiaiMaDirective)
set appGiaiMa(directive: GiaiMaDirective) {
    this.helloSetName = directive.name;
}
Directivename = 'Heil Antonio';
const createText = renderer.createText('My value');
renderer.appendChild(elem.nativeElement, createText);
 |
| Thêm directive vào thẻ span |
 |
| Khai báo ViewChild cho directive |
 |
| Tạo giá trị để hiển thị |
ng serve --open
or
ng serve --port=8080 --open


